Setting Up IOMete: A Cloud-Independent Data Platform Based on Spark
IOMete is a powerful, cloud-independent data platform built on Apache Spark, designed to enable...
IOMete is a powerful, cloud-independent data platform built on Apache Spark, designed to enable scalable data processing and analytics. This guide walks you through the process of setting up IOMete on a Kubernetes cluster, covering the installation of prerequisites, configuration of storage and database components, and deployment of the IOMete data plane. By the end, you’ll have a fully functional IOMete environment ready for data workloads.
Prerequisites
Before diving into the installation, ensure you have the following:
- A Kubernetes cluster (version 1.21 or higher recommended).
kubectlconfigured to interact with your cluster.- Helm (version 3.x) installed for managing chart deployments.
yq(a YAML processor) installed for modifying configuration files.aws-cliinstalled for interacting with MinIO (configured as an S3-compatible storage).- At least 32GB of RAM and 4 CPU cores available in your cluster for IOMete’s components.
- Access to the IOMete Helm chart repository and configuration files on GitHub.
This guide assumes you’re comfortable with basic Kubernetes and Helm commands. Let’s get started!
Downloading Configuration Files
To begin, you’ll need to download the necessary configuration files from the IOMete GitHub repository. These files include Custom Resource Definitions (CRDs), service accounts, certificate generation scripts, and example configurations for the data plane, Istio gateways, PostgreSQL, and MinIO.
Run the following commands to fetch the files:
wget https://raw.githubusercontent.com/iomete/iomete-deployment/main/iomete-crds.yamlwget https://raw.githubusercontent.com/iomete/iomete-deployment/main/service-account.yamlwget https://raw.githubusercontent.com/iomete/iomete-deployment/main/gencerts.shchmod +x gencerts.shwget https://raw.githubusercontent.com/iomete/iomete-deployment/main/on-prem/example-data-plane-values.yamlwget https://raw.githubusercontent.com/iomete/iomete-deployment/main/istio-ingress/gateway-http.yamlwget https://raw.githubusercontent.com/iomete/iomete-deployment/main/istio-ingress/gateway-https.yamlwget https://raw.githubusercontent.com/iomete/iomete-deployment/main/database/postgresql/postgresql-values.yamlwget https://raw.githubusercontent.com/iomete/iomete-deployment/main/minio/minio-test-deployment.yamlThese files provide the foundation for deploying IOMete’s components. The gencerts.sh script, for example, generates certificates for the Spark operator webhook, while example-data-plane-values.yaml serves as a template for configuring the IOMete data plane.
Shrinking CRD Size for Kubernetes
Some Kubernetes environments impose a size limit on Custom Resource Definitions (CRDs), such as 256KB. The iomete-crds.yaml file may exceed this limit due to included descriptions. To address this, you can use the yq tool to remove the description fields, reducing the file size.
Execute the following command:
yq 'del(.. | .description?)' iomete-crds.yaml > iomete-crds-small.yamlThis creates a new file, iomete-crds-small.yaml, which is compatible with environments that enforce CRD size restrictions. You’ll use this file in later steps.
Adding Helm Repositories
IOMete relies on several Helm charts from different repositories, including Bitnami (for PostgreSQL), Istio (for networking), and IOMete’s own chart repository. Add and update these repositories with the following commands:
helm repo add bitnami https://charts.bitnami.com/bitnamihelm repo add istio https://istio-release.storage.googleapis.com/chartshelm repo add iomete https://chartmuseum.iomete.comhelm repo updateThis ensures you have access to the latest versions of the required charts.
Setting Up the IOMete Namespace and Core Components
Next, create a dedicated namespace for IOMete and apply the necessary configurations, including the CRDs, service account, and Spark operator webhook certificates.
Run these commands:
kubectl create namespace iomete-systemkubectl label namespace iomete-system iomete.com/managed=truekubectl apply -f iomete-crds-small.yamlkubectl apply -n iomete-system -f service-account.yaml
./gencerts.sh -n iomete-system -s spark-operator-webhook -r spark-operator-webhook-certs# `spark-operator-webhook.yaml` file will be generated by the script abovekubectl apply -n iomete-system -f spark-operator-webhook.yaml
Here’s what each step does:
- Creates the iomete-system namespace and labels it for IOMete management.
- Applies the downsized CRDs to define IOMete’s custom resources.
- Sets up a service account for IOMete’s components.
- Generates and applies certificates for the Spark operator webhook, enabling secure communication.
Deploying MinIO for Storage
IOMete uses MinIO, an S3-compatible object storage, as its default storage backend. Deploy MinIO with the provided test configuration:
kubectl apply -n iomete-system -f minio-test-deployment.yamlTo interact with MinIO, set up port forwarding to access its web interface or API. Open a new terminal and run:
kubectl port-forward svc/minio 9000:9000Creating an S3 Bucket in MinIO
With MinIO running, create a bucket named lakehouse for IOMete’s data storage. Use the aws-cli to configure access and create the bucket:
# export access key and secret key# If you changed the default values, please update the following values accordinglyexport AWS_ACCESS_KEY_ID=adminexport AWS_SECRET_ACCESS_KEY=passwordexport AWS_REGION=us-east-1export AWS_ENDPOINT_URL=http://localhost:9000
# create s3 bucketaws s3 mb s3://lakehouse
# verify bucketsaws s3 ls s3://lakehouse
These commands:
- Set environment variables for MinIO’s default credentials (admin/password) and endpoint.
- Create the lakehouse bucket.
- Verify the bucket’s creation.
Once done, close the port-forwarding session with Ctrl+C.
Deploying PostgreSQL
IOMete requires a PostgreSQL database for metadata and configuration. Install PostgreSQL using the Bitnami Helm chart and the provided configuration file:
helm upgrade --install -n iomete-system postgresql bitnami/postgresql -f postgresql-values.yamlkubectl get pods -n iomete-system -l app.kubernetes.io/name=postgresql --watchThe helm upgrade —install command ensures PostgreSQL is installed or updated. The —watch flag monitors the pod’s status. Wait until the PostgreSQL pod is in the Running state, then press Ctrl+C to exit the watch command.
Configuring the IOMete Data Plane
Before deploying IOMete, verify and customize the example-data-plane-values.yaml file to match your environment. Below is an example configuration:
database: type: postgresql host: "postgresql" port: "5432" user: "iomete_user" password: "iomete_pass" prefix: "iomete_" # all IOMETE databases should be prefixed with this. See database init script. ssl:  enabled: false # Enabling this will require javaTrustStore to be enabled and configured properly  mode: "disable" # disable, verify-full adminCredentials:  user: "postgres"  password: "<your postgresql master password"
storage: bucketName: "lakehouse" type: "minio" minioSettings:  endpoint: "http://minio:9000"  accessKey: "admin"  secretKey: "password"
ingress: httpsEnabled: false
docker: repo: iomete.azurecr.io/iomete pullPolicy: Always defaultSparkVersion: 3.5.3-v13 additionalSparkVersions:  - 3.4.0-v12 tagAliases:  latest: 3.5.3-v13
features: activityMonitoring:  enabled: true
Key configurations include:
- Database: Points to the PostgreSQL instance with credentials and prefix settings.
- Storage: Configures the MinIO lakehouse bucket with default credentials.
- Ingress: Disables HTTPS for simplicity (enable it for production).
- Docker: Specifies the IOMete container registry and Spark versions.
- Features: Enables activity monitoring for tracking usage.
- Replace
with the actual PostgreSQL admin password defined in postgresql-values.yaml. Adjust other settings as needed for your environment.
Deploying the IOMete Data Plane
With all prerequisites in place, deploy the IOMete data plane using the Helm chart. This step initializes the database, configures storage, and starts all necessary pods. The deployment requires at least 32GB of RAM and 4 CPUs.
Run the following command:
helm upgrade --install -n iomete-system data-plane iomete/iomete-data-plane-enterprise -f data-plane-values.yamlThe deployment may take a few minutes as Helm sets up the initialization job and starts the pods. Monitor the progress with:
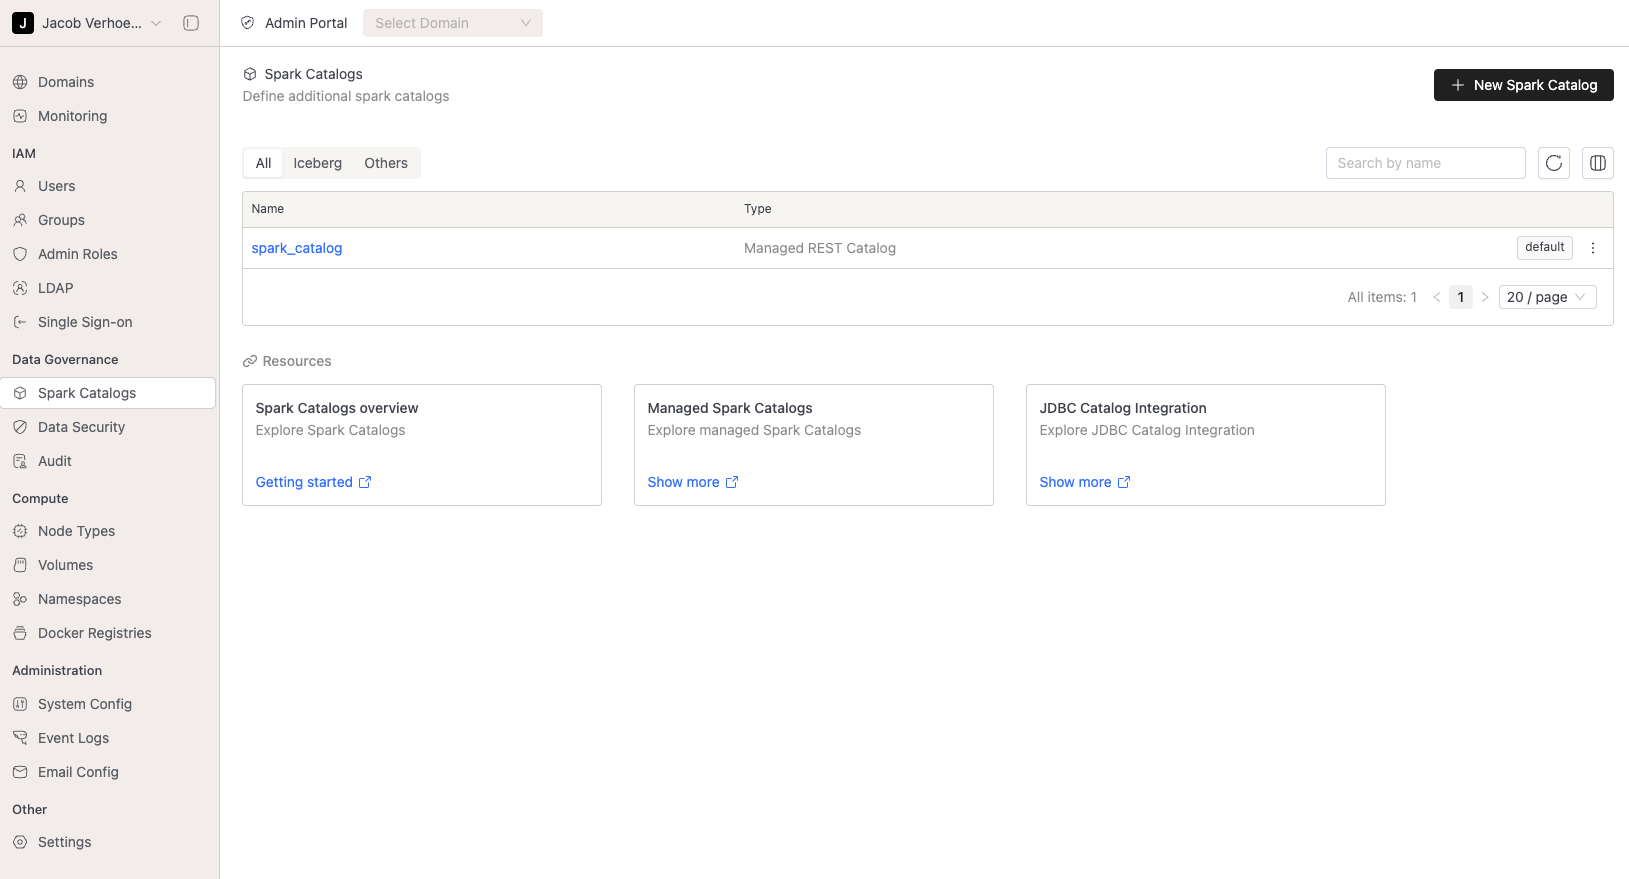
kubectl get pods -n iomete-system --watchAccessing the IOMete Web Interface
Once the deployment is complete, access the IOMete web interface by forwarding the iom-gateway service:
kubectl port-forward svc/iom-gateway 8888:8080Open your browser and navigate to http://localhost:8888. Log in with the default credentials:
Username: admin Password: admin
Change the default password after logging in for security.
Next Steps
Congratulations! You’ve successfully set up IOMete as a cloud-independent data platform. From here, you can:
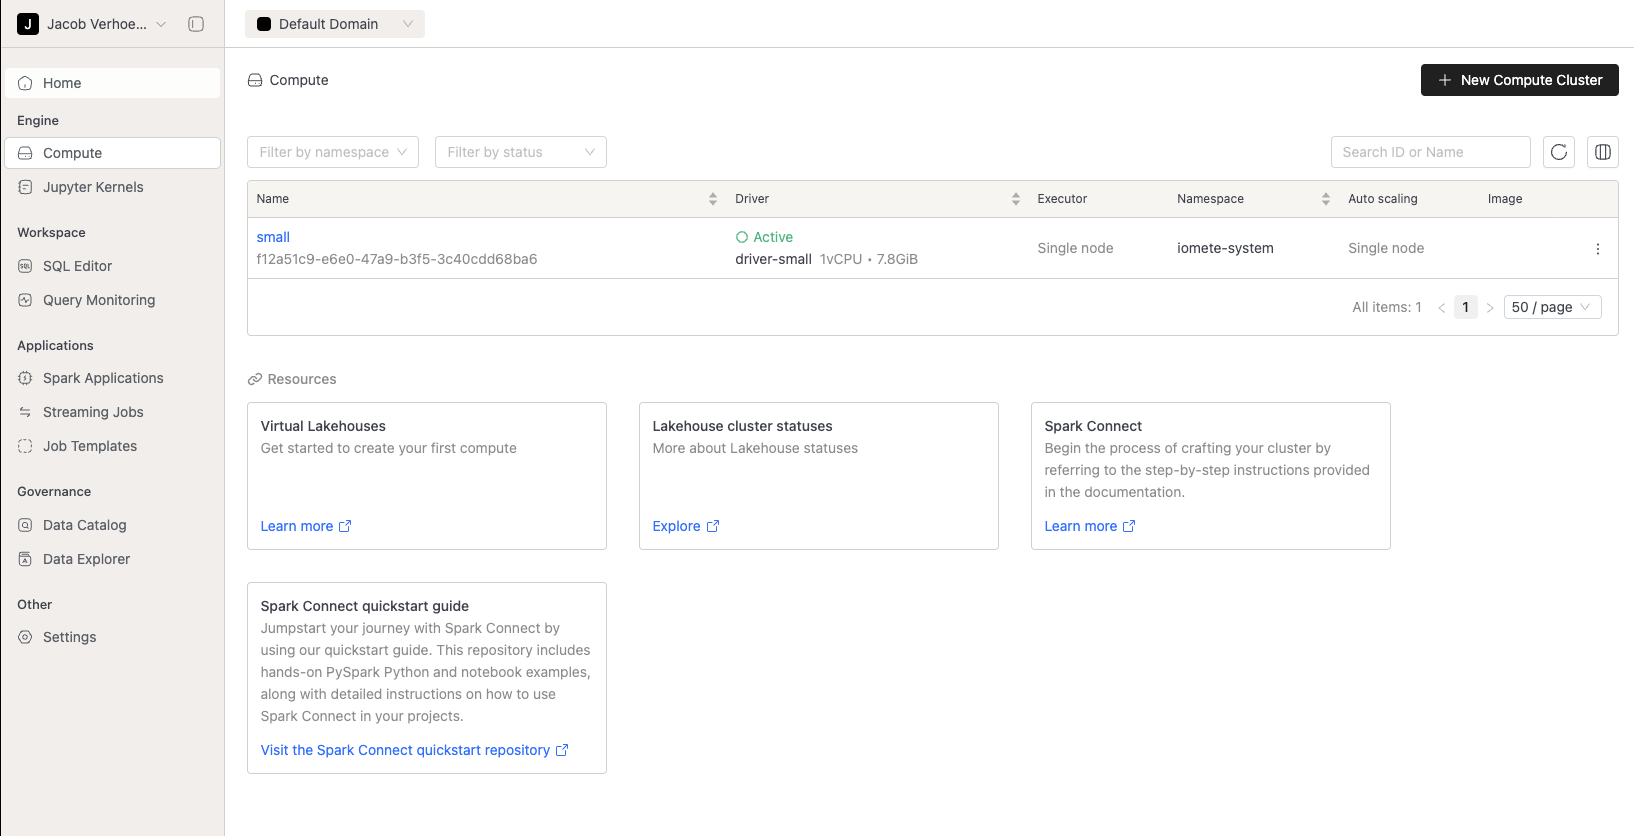
- Configure data sources and Spark jobs in the IOMete UI.
- Enable HTTPS for secure access by updating the ingress settings.
- Scale the cluster to handle larger workloads.
- Explore IOMete’s documentation for advanced features like multi-tenancy and monitoring.
If you encounter issues, check the pod logs in the iomete-system namespace with kubectl logs or consult the IOMete documentation.
This setup provides a robust foundation for running Spark-based data workloads in a cloud-agnostic environment. Let us know in the comments if you have questions or tips for optimizing your IOMete deployment!
Preview
Data Domain/Workspace
SQL Editor

DBT-Core
